Removing a Layer in After Effects: Step-by-Step Guide
Welcome to this comprehensive tutorial where you will learn an invaluable technique for effortlessly deleting layers in any After Effects version. Whether you’re a beginner or an experienced user, this guide will equip you with the knowledge to streamline your workflow and save precious time by deleting layers with just a single keystroke. Get ready to master this powerful technique and take your editing skills to the next level in After Effects, regardless of the version you’re using.
Removing Layers
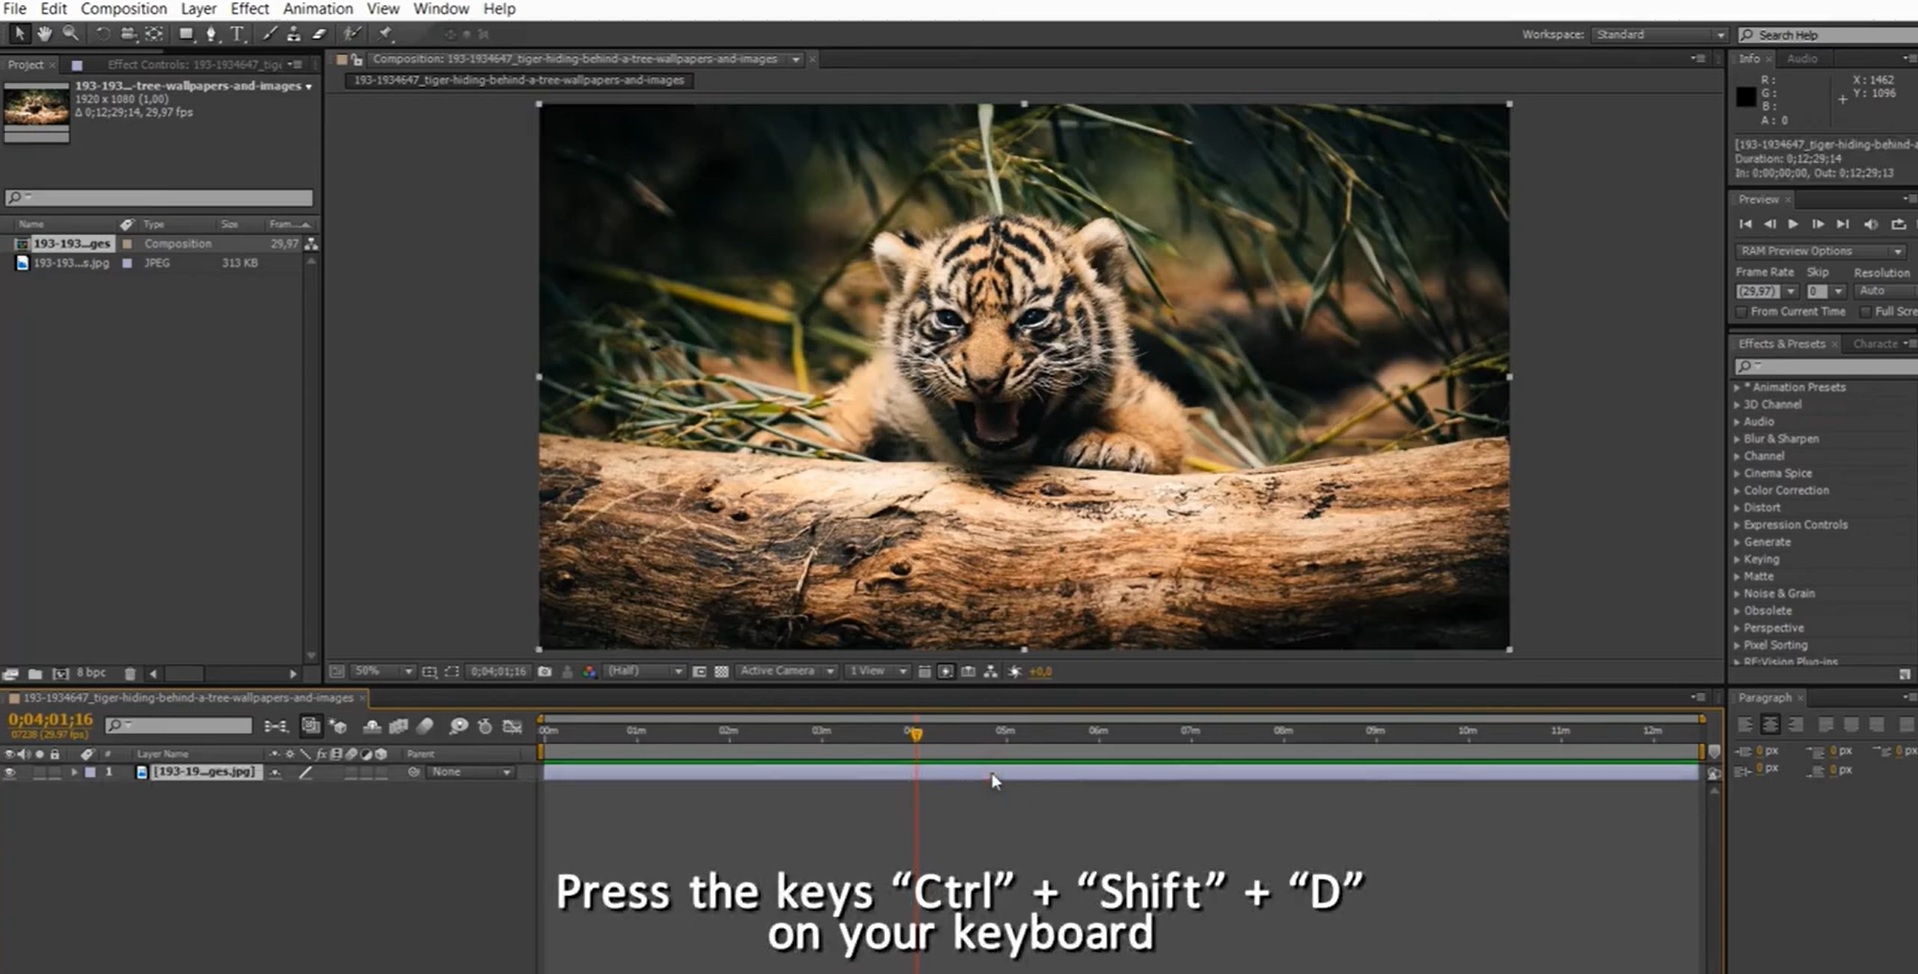
Deleting a layer in After Effects is a simple and user-friendly process that can be accomplished in just a few easy steps. If you wish to remove an element from your composition, follow the following instructions:
- Open the Composition Timeline panel in After Effects;
- Locate the layer you want to delete within the panel;
- Select the layer by clicking on it;
- If you’re using a Mac, press the delete key on your keyboard. For Windows users, press the backspace key. These keys are typically located at the upper right corner of the keyboard;
- The selected layer will be promptly cut from the composition.
You can also cut multiple layers simultaneously by selecting them in the composition and using the delete/backspace key as mentioned earlier. This enables you to streamline your editing process and remove multiple elements at once.
Effortless Removal of Assets
When it comes to completely deleting unwanted assets from After Effects, whether they are imported JPEG or WAV files, you can easily declutter your project with a few simple steps. Here’s how to swiftly remove them:
- Locate the Project panel within After Effects;
- Find and select the specific asset that you wish to delete;
- Similar to deleting a layer in After Effects, use the delete key on a Mac or the backspace key on a Windows computer to initiate the deletion process.
If the asset you are deleting is being utilized in a composition, a warning box will appear, seeking confirmation of your intention to remove the asset from After Effects. It is important to understand that deleting an asset from your AE Project does not delete the file itself. The original file will still be retained on the hard drive from which it was imported.
Hidden Layers in After Effects: Demystifying the Shy Guy Feature
In certain situations, you may be aware that a layer exists in After Effects, but you’re unable to locate it within the composition. In most cases, this is because the “Shy” feature is enabled.


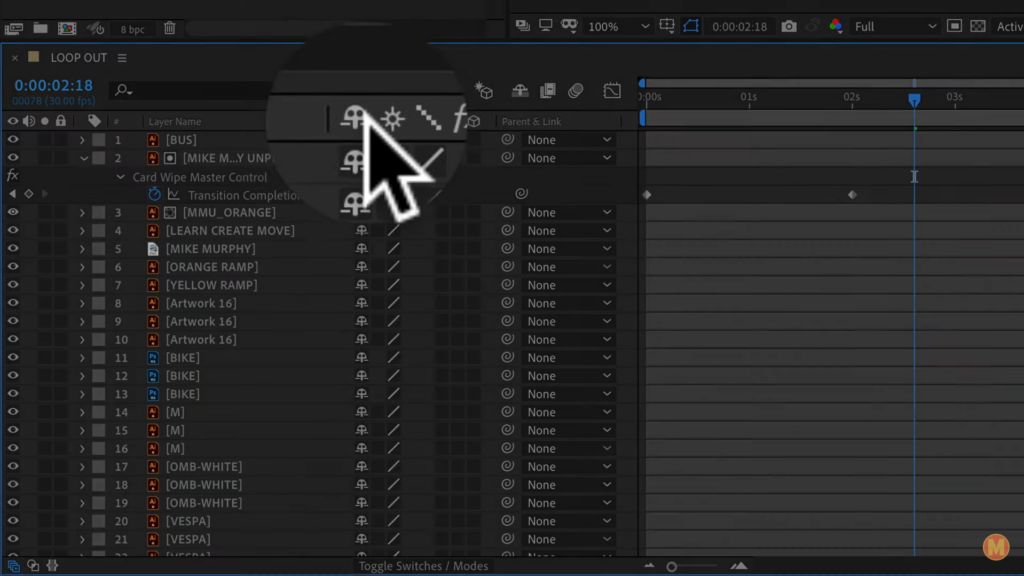
In After Effects, every layer has the remarkable ability to become “shy,” allowing you to manage visibility and reduce complexity within your compositions. Identifying whether a layer is shy is easy – simply look for the Shy column, denoted by a head sticking out of a hole icon. By default, layers are not shy and remain visible at all times. However, when working on intricate compositions, you may prefer to minimize the number of visible layers to avoid confusion.
To make a layer shy, follow these steps:
- Locate the Shy Guy icon corresponding to the desired layer in the top section of the Composition Timeline panel;
- By default, the Shy Guy icon appears uncolored, indicating that “Shy” mode is disabled, and the layer is visible;
- To hide a layer and mark it as shy, simply click on the Shy Guy icon associated with that layer.
Once a layer has been marked as shy, it will be hidden from view, streamlining your composition and reducing visual clutter.
In situations where you are working with AE templates or suspect the existence of a layer that is not visible in the Composition Timeline panel, it is likely that the layer has been set as shy. To reveal all layers, ensure that “Shy” mode is turned off by checking the Shy Guy icon.
Conclusion
In conclusion, learning how to delete layers in After Effects is an essential skill for effective project management and composition refinement. Following the simple steps outlined in this article, you can effortlessly remove unnecessary layers and declutter your timeline. Whether you’re working on a Mac or Windows computer, the delete or backspace key will be your go-to tool for layer deletion. Additionally, the ability to select and delete multiple layers simultaneously offers further efficiency and convenience. By mastering the art of layer deletion, you can maintain a well-organized and optimized project in After Effects, resulting in smoother editing processes and polished final outputs.
