Techniques for Changing Background Colors in After Effects
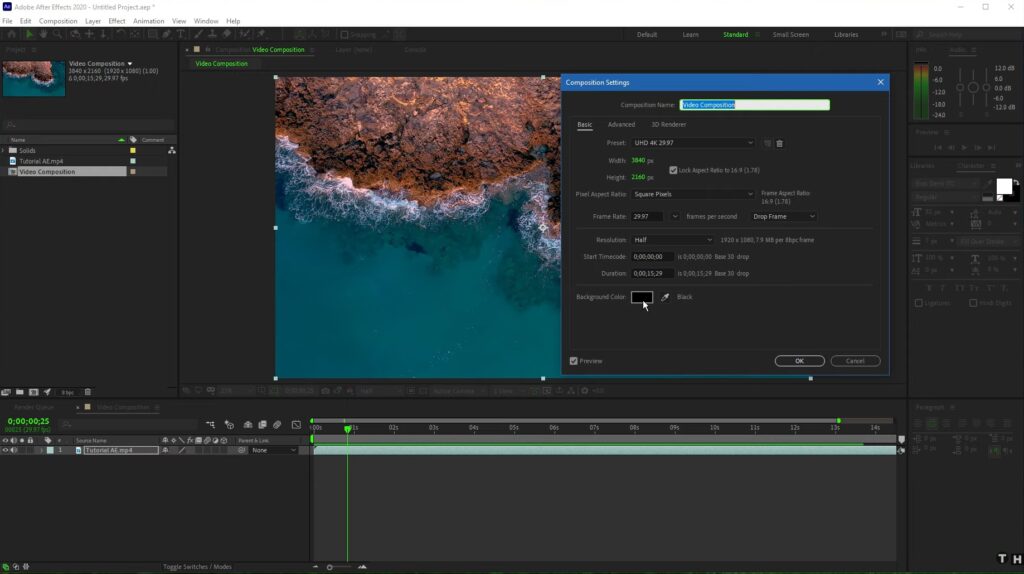
Changing the background color in After Effects can significantly impact the overall look and feel of your compositions. Whether you want to create a dynamic scene, match the paint scheme of your project, or add visual interest, the ability to modify the background color provides endless creative possibilities. In this comprehensive tutorial, we will guide you through the process of changing the background color in After Effects, empowering you to create captivating visuals that elevate your motion graphics projects.
Creating Solids and Customizing Colors in After Effects
Embark on your journey of creating captivating visuals in After Effects by initiating a new Solid layer. Effortlessly accomplish this by utilizing the convenient keyboard shortcut Command+Y (Mac) or Control+Y (PC). This shortcut provides a seamless way to generate a Solid layer, allowing you to quickly move forward with your creative process. Once the Solid layer is created, take a moment to specify the name and dimensions that align with your composition’s requirements. This attention to detail ensures a harmonious integration of the Solid layer into your overall design. Finally, click the OK button to proceed, unlocking a world of possibilities to infuse vibrant colors and dynamic elements into your After Effects projects.
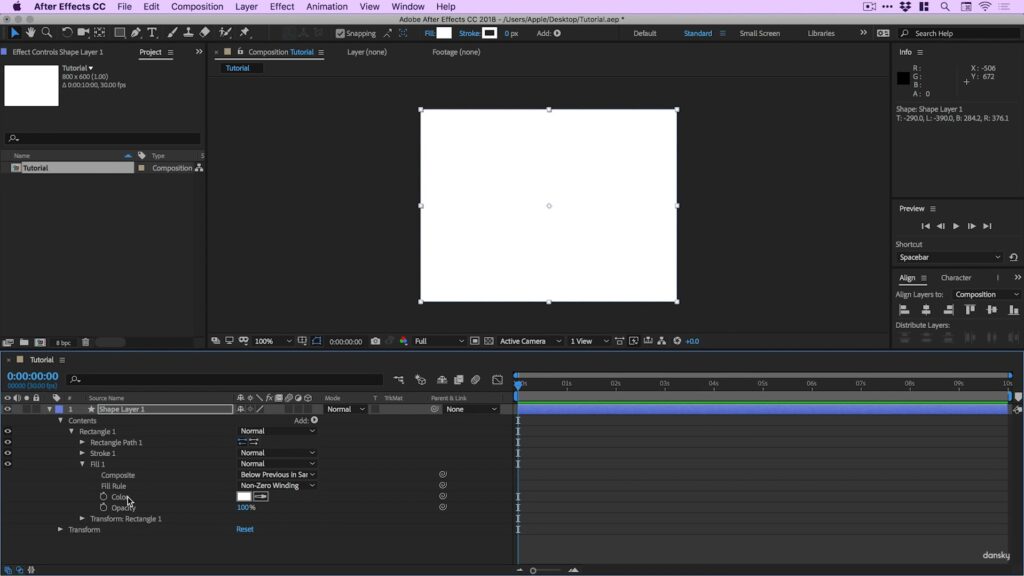
Once your Solid is created, the next step is to change its shade. Simply select the Solid layer and employ the keyboard shortcut Command+Shift+Y (Mac) or Control+Shift+Y (PC). A color picker will appear, allowing you to choose the perfect hue for your Solid. After making the color selection, click OK to apply the changes.
To create a new Solid layer and modify its color in Adobe After Effects, simply follow these easy-to-follow step-by-step instructions:
| Steps |
|---|
| 1. Begin by opening your composition and selecting the layer where you want to add the Solid layer. |
| 2. Create a new Solid layer by using the keyboard shortcut Command+Y (Mac) or Control+Y (PC). This will open the “Solid Settings” dialog box. |
| 3. Set the desired name and dimensions for the Solid layer to match the composition, and click OK to proceed. |
| 4. Once your Solid layer is created, select it in the timeline. |
| 5. To change the color of the Solid layer, use the keyboard shortcut Command+Shift+Y (Mac) or Control+Shift+Y (PC). This will open the “Solid Settings” dialog box again, but with the “Color” option selected. |
| 6. Use the color picker to select the desired hue for your Solid layer. You can either choose a color from the swatches or use the eyedropper tool to select a color from your composition. |
| 7. After making your color selection, click OK to apply the changes. |
| 8. Your Solid layer should now be visible in the composition, with the new color you selected. You can use this layer as a background or as a base for other elements in your project. |

Create Dynamic Color Transitions for Solids in After Effects
Color plays a crucial role in conveying emotions, setting the mood, and adding visual interest to your video projects. With After Effects, you have the power to create dynamic paint transitions for solids, allowing you to enhance the visual impact of your compositions and captivate your audience. Follow these simple steps to achieve mesmerizing results:
- Access the Effects & Presets panel and search for the Fill Effect;
- Drag and drop the Fill Effect onto the solid layer in the timeline, which initially appears as red;
- Navigate the time position indicator to the desired transition start point;
- Select the solid layer and locate the Effects Control panel;
- Modify the color from red to your preferred hue and click the Stopwatch icon next to Color;
- Move the time position indicator to the transition end point;
- Adjust the color in the Effects Control panel accordingly;
- Repeat these steps for additional color changes, as desired;
- Scrub through the timeline to witness the captivating results of your color transitions.

To enhance your animation workflow and have precise control over keyframes in After Effects, there’s a valuable keyboard shortcut at your disposal: the “U” key. This handy command provides you with a comprehensive view of keyframe positions on the timeline, enabling you to effortlessly manage their timing. Whether you need to fine-tune the timing of a specific keyframe, make adjustments for the desired effect, or eliminate unnecessary keyframes, the “U” key shortcut is an essential tool. By incorporating this shortcut into your workflow, you can efficiently handle and refine your keyframe animations, resulting in seamless transitions and meticulous control over your visual elements. Unlock the power of the “U” key and elevate your animation precision in After Effects.
Conclusion
With the step-by-step guidance provided in this article, you’ve learned how to seamlessly alter the background color, enhancing the mood, atmosphere, and visual impact of your compositions. Whether you want to create captivating visual effects, make your videos stand out, or evoke specific emotions, the ability to change background shades in After Effects is an invaluable skill. By incorporating these techniques into your video editing workflow, you have the power to transform your visuals and leave a lasting impression on your audience.
